In this post we will explain how to create a table in our newly installed SQL Server instance.
Through The Object Explorer
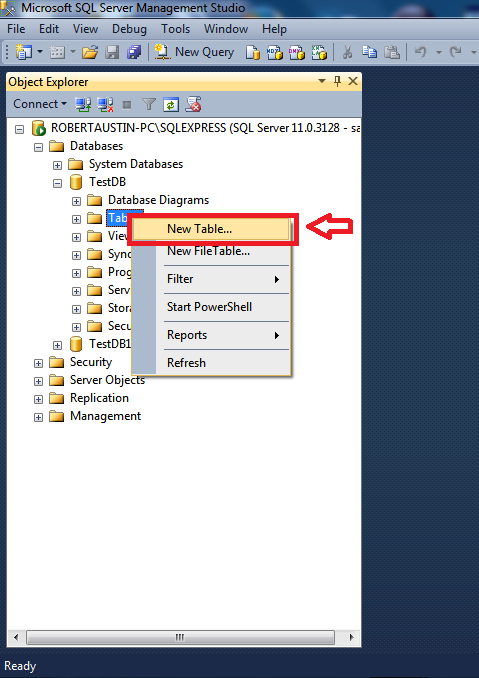
Log in to your SQL Server installation and in the Object Explorer expand Databases and then expand TestDB.
Right-click on Tables and select New Table.
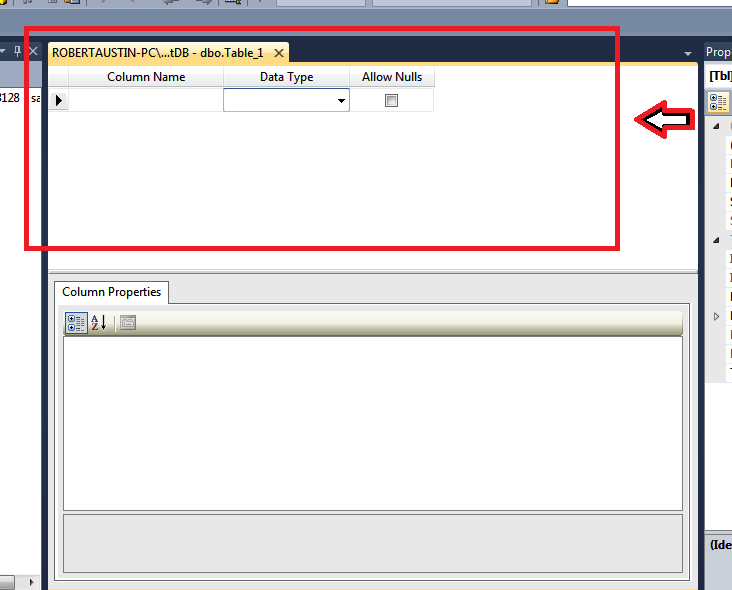
A datasheet to enter Column Names and Data Types should open up.
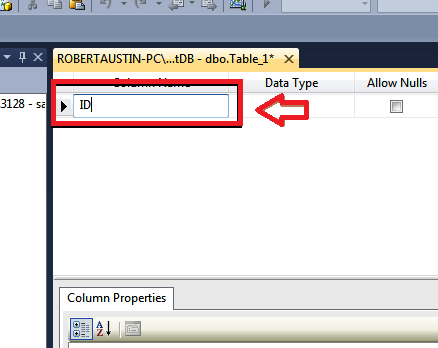
 We are going to add an Auto-incrementing ID field.
Write ID in the first Column Name row.
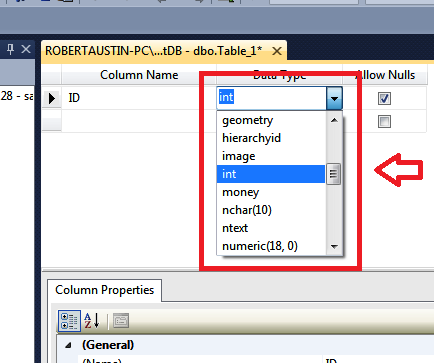
 For the Data Type expand the Drop Down menu and choose int
 In order to make the column auto-increment, we will need to go to the Column Properties section and change Identity to Yes.
 Now we will make the ID field the primary key.
Right-click on the ID field and select Set Primary Key.
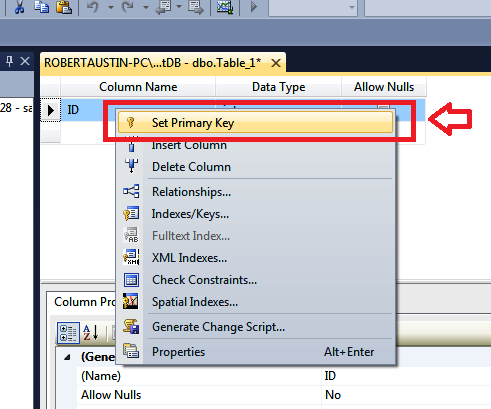
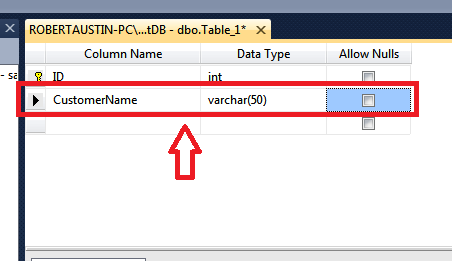
You will know if the Primary Key has been set because a little key icon will appear in the Record Selector.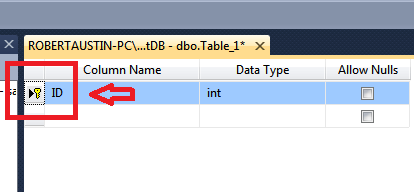 Now we will insert the CustomerName field.
Add CustomerName under ColumnName and varchar(50) under Data Type.
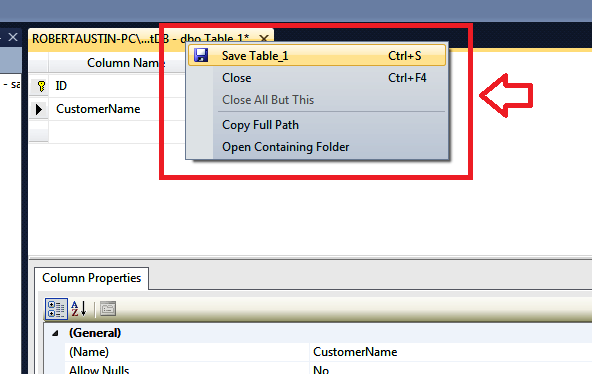
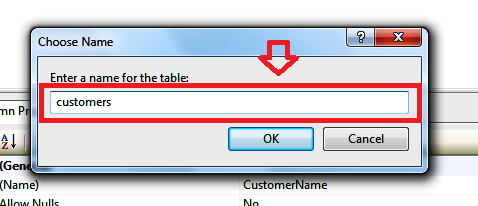
 Ok, now let’s save the table. Right-click on the tab header and select Save Table_1.
 Let’s call it customers.
Click Save.
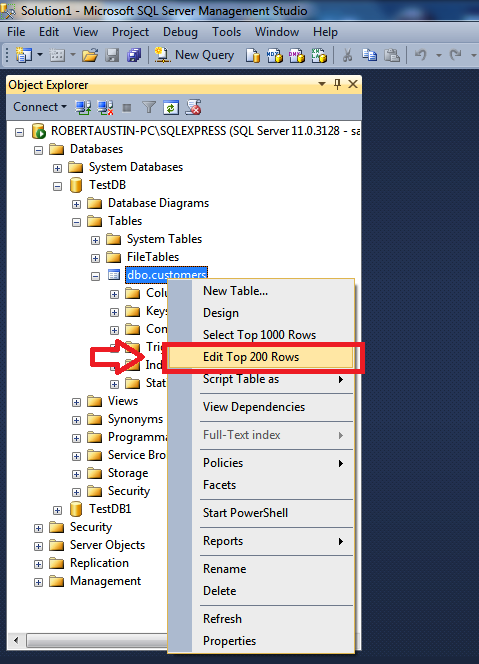
 Now if you check under Tables for TestDB, you will see your table.
Right-click on dbo.customers and select Edit Top 200 Rows.
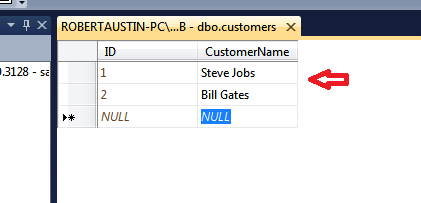
 The datasheet for your table will appear. Here I have added items to the CustomerName field and the ID field has incremented itself.
Using SQL
Just like when creating a database, you can use SQL to create your table.
Click on New Query in the Toolbar and enter this code:
USE TestDB1;
CREATE TABLE dbo.customers
(
ID INT IDENTITY ,
CustomerName VARCHAR(50)
PRIMARY KEY (ID)
)
Click on Execute in the Toolbar.
This code assumes you have TestDB1 (we created it in the previous post). It is worth getting to grips with certain aspects of this SQL code as it is not quite as intuitive as the SELECT statements.
The key thing to remember is that this code will produce exactly the same result as the steps for using the Object Explorer above.